This is why you're skinny & plastic.
We're all familiar with Photoshop disasters. The public knows not to trust any magazine cover, any advertisement, or even profile picture snapshot because of that dirty, dirty word: Photoshop. Even as an avid Photoshop user, I get it. There is a point where too much is too much. After a portrait session when a client asks me to give them rhinoplasty, mastopexy, and liposuction? I get that my rates are cheaper than genuine surgery, but at a point a photo ceases to be the real deal. However, I am not opposed to a little nip, tuck, and cover-up. As I've ranted on before, everyone loves a good picture of themselves, and there's nothing wrong with giving the people what they want before they even ask for it.
Now, haters gonna hate, especially when they don't actually have any sound knowledge about what they're talking about. The unknown is scary, I know. Unfortunately, few people realize how much know-how, time, effort, and artwork go into good retouching. There is no "replace body with Jessica Alba's" tool. There is no "get rid of acne" tool. There's not even a "make the light even" tool. You have to have a reasonable image to work with in the first place, and anything drastic you want edited requires careful painting, patience, and practice. Aside from the basic photographic techniques that go into a "changing" one's appearance in a photo--lighting, focus, angle, etc.--I do often get asked just what I did to them. So, a breakdown of the basic (and subtle) retouching I do, for the n00b haters (and fans) so you can know just what you're hating:
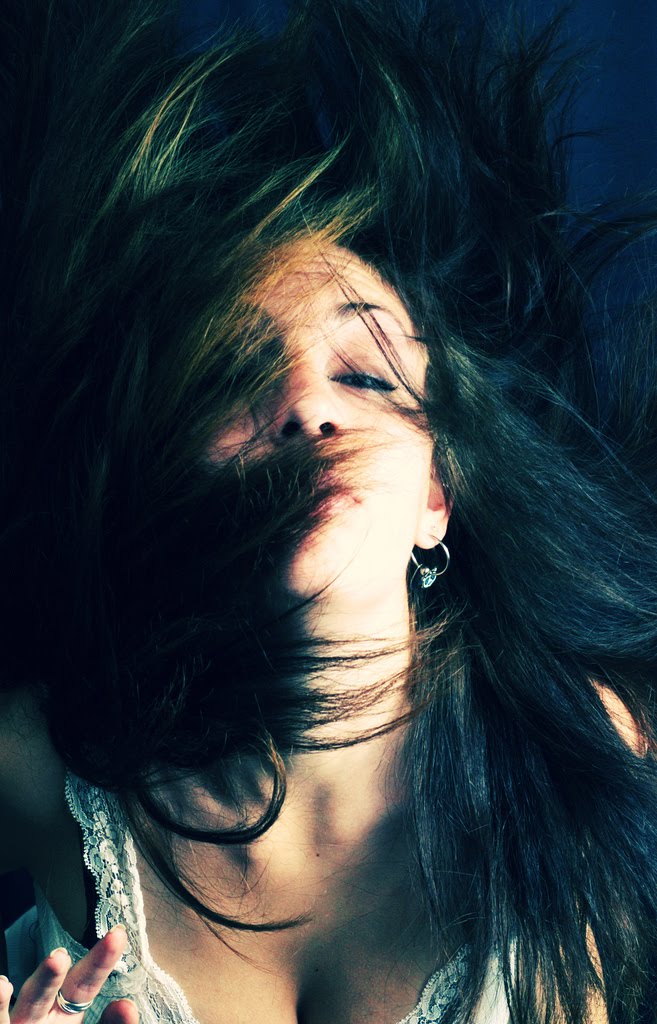
[CUT-TAG="Oh dear..."]My example photo is from a "glamor" photo-party a few months ago. Maybe I'll run you guys through the process of my fashion photos another time, but anyway:

Clean up.
I tend to start with the skin, to make sure I have a clean surface to work on. There are a few different ways to get rid of skin blemishes, namely the spot healing brush and the clone tool. The spot healing brush is good for, well, healing spots. It samples the pixels around what you're "healing" and replaces the blemish. Personally, I prefer using the clone tool, which clones a sampled part of your image and allows you to paint with it wherever you wish. This tool gives me more manual control, and allows me to better even overall skin tone instead of just dabbing on some Photoshop cover-up here and there. In this photo I used the clone tool to clean up her scars, wrinkles, excess shine, as well as tidy up her eyebrows and a little of her hairline (though that could definitely be cleaned up further). With portraits like these I like to keep things more or less natural, so no over airbrushing of skin or hair for me, I like my clients to look human, not plastic.

Nip & Tuck.
Now, the liquify filter. What everyone loves to hate. This is the deadly tool that's primarily responsible for those unnaturally small waists, big eyes, perfect jaw-lines, and everything else "fake" that we see post-processing. This tool essentially turns your image to liquid, and allows you to move bits and pieces as if they were floating on water. Here, I pushed in the model's cheeks slightly to narrow them, and nudged up the roll of fat under her chin for a more defined and skinny looking jaw. I also reshaped the arch in her far eyebrow, I didn't like the asymmetry. Again, I like to keep things more natural than not (despite requests from client occasionally...oy...), but completely reshaping the face is only a few brush strokes away. However, these few brush strokes take a steady hand and eye to make sure it stays natural looking, especially when you start taking on entire bodies instead of just faces. This can get intoxicating and dangerous. Beware.


Contrast
While I don't feel that starker contrast is needed in this photo, I increased the contrast anyway just to demonstrate. Increasing a photo's contrast in one of the easiest and quickest ways to make a portrait "better." Blowing out your highlights, even slightly, evens skin tone, and gives everything a little more polished look. However, this goes both ways; darker shadows can help, but can also hurt a picture. Generally, people like higher contrast images better, but if you're picky like I am you'll focus only on how annoying the dark shadow on her cheek is. Really. It's pissing me off. However, this is not something that you should rely on retouching to fix--this a lighting issue, and could be resolved before you even take the photo. The concept of "changing the lighting" is bunk. It might just be semantics, but changing the actual light in a photo? You can't do it.
Anyway, there is some more nitty-gritty fine-tuning I could do, but you get the jist of it. Throw in soft-edged vignette, since that's what Jane Doe likes, and voila!

There, was that so bad?
I stand firm in my opinion that post-processing is a part of the creative process, and doing so digitally is a god-send to every kind of photographer. Allegations that photographs or models are "fake" is a stretch, and people conveniently ignore the good looking models that are photographed, the unnatural lighting effects, poses, and angles, let alone the quality and look achieved through different camera equipment, before jumping on the "I hate Photoshop!" bandwagon (not to mention that commercial photography isn't about portraiture at all anyway, but that's another rant). While some (ok, tons of) people overuse and abuse their editing tools, usually the changes are subtle, unnoticeable, and not "lying" at all.
0 comments:
Post a Comment