Moon Prism Power!
 |
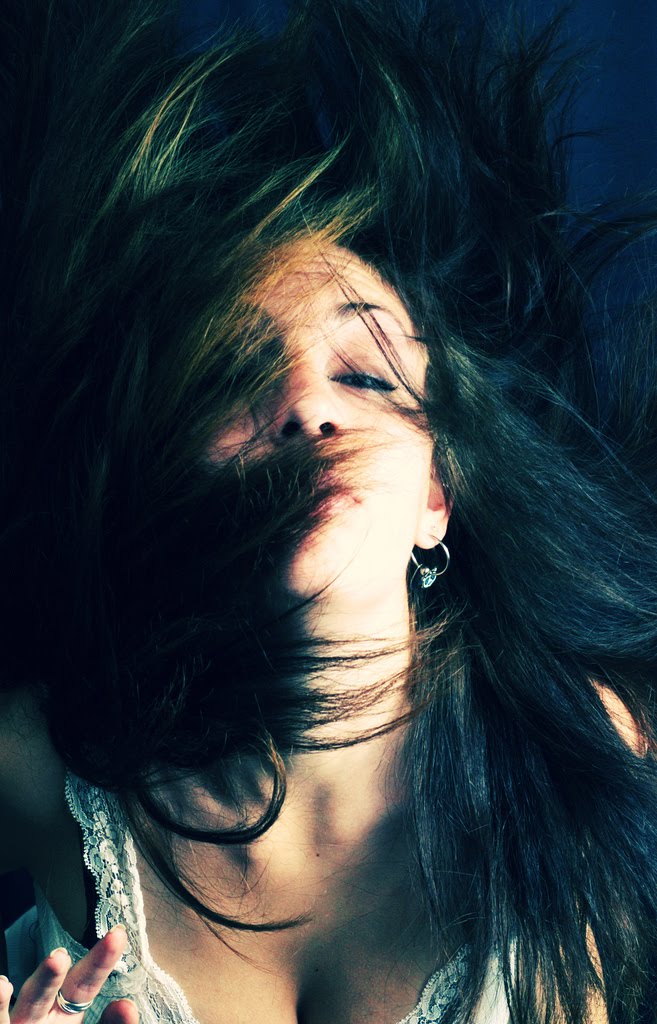
I've gotten a lot of questions and request for a tutorial on creating the Sailor Moon-esque, light painting composites I've been into lately. So, here's a quick (albeit sloppy) tutorial!
I drew this up in about 20 minutes, but I recommend playing around with this look and technique and figuring out exactly what you want from the images. Some stuff will work, some won't. Practice makes perfect. Don't just copy pixel for pixel, get creative, make it yours!
I used stock images for this tutorial from stock.xchg (you can even see the window open at the bottom of my screenshots, haha), however my previous pieces were a combination of portraits shot in studio and my own stock. For a look at these you can check them out on my Flickr-- one, two, three, & four.

Of course start out by opening your image. I chose this one because I want to get the effect of her flying, and also because it will be easy to remove the grass from the background. If I were shooting for this I'd shoot in studio to have an even colored, flat background for all the glitz, glitter, and light to lay over as I'm working. A picture with a busy background will only end up looking sloppy and way too busy. The images in this tutorial are kind of small, but if you click on them you can view them fullsize.

I just used the brush tool to go over the parts of the background I didn't like (grass and clouds), as well as the empty space that was created when I moved the girl over towards the other side of the image. The brush strokes you can see aren't that big of a deal. They are more or less the same color and tone as the rest of the background, so they won't show in the end product.Now, to get the glittery effect I used a bokeh picture, or something similar. Pictures of clouds, stars, flowers, whatever will work too, it's all up to you!

Now, I set the blending mode on the layers palette to "screen." This gives the layer that see through effect. Play with the other blending modes if you want until you find something that you like, though I tend to stick to screen or overlay for this one.You might now want all the sparkles all over you subject, so I recommend creating a layer mask (Layer menu>>Layer Mask>>Reveal All). This will let you erase parts of the layer but be able to go back and edit your erasures are you wish.

I set my brush's opacity to 48, strong enough to get rid of what I don't want to see, but subtle enough to not look like I just chopped something out. Select the layer mask on your layer palette and just paint away what you don't want! If you want to add something back in, just switch your brush to white (or hit "x") and paint back over.On to the lights! For these I used three different light painting images, but I'll just show you the basics with one.

You can stretch and warp this to fit your picture if you need, the distortion won't really be visible. I create a curves layer to boost the contrast on the lights. I try to keep everything black so that it won't show once I change the blending mode. Merge the curves layer to the lights layer. Now change the blending mode. Either screen or color dodge works well, depending on how intense you want the light streaks to be. In this case I set all my light layers to screen.

I then copied the layer and applied a gaussian blur filter to give it a little more glow.I repeated these steps on my other two light layers, and voila!

If I were going to a more polished look, in the layer masks on each I'd mask out which parts of the light I wanted behind the model, to give the effect that it was wrapping around her. I also added an additional curves layer to get the contrast the way I wanted and there you are! All done!

0 comments:
Post a Comment